I was browsing craigslist one afternoon when I saw a listing for a pair of vintage cane chairs on sale at the local (okay, not local, I had to drive about 45 minutes) ReStore. Now, let me tell you, a pair of anything vintage is hard to come by, and when you do find a pair, it usually means $$$. But these were reasonably priced at $50 each, no tax. I knew that I had to have them.
After folding down the seats in my parents' van and making the drive to the location, I was a bit disappointed to see that the upholstery was in very bad shape. The cream striae velvet was very yellowed and very dark and stained in places, and some spots looked like they had been scratched by a cat, leaving rips and tears in the fabric. Still, they were the perfect thing for the apartment I was on the verge of renting, and I knew with a little love they could be really special. See the before below:
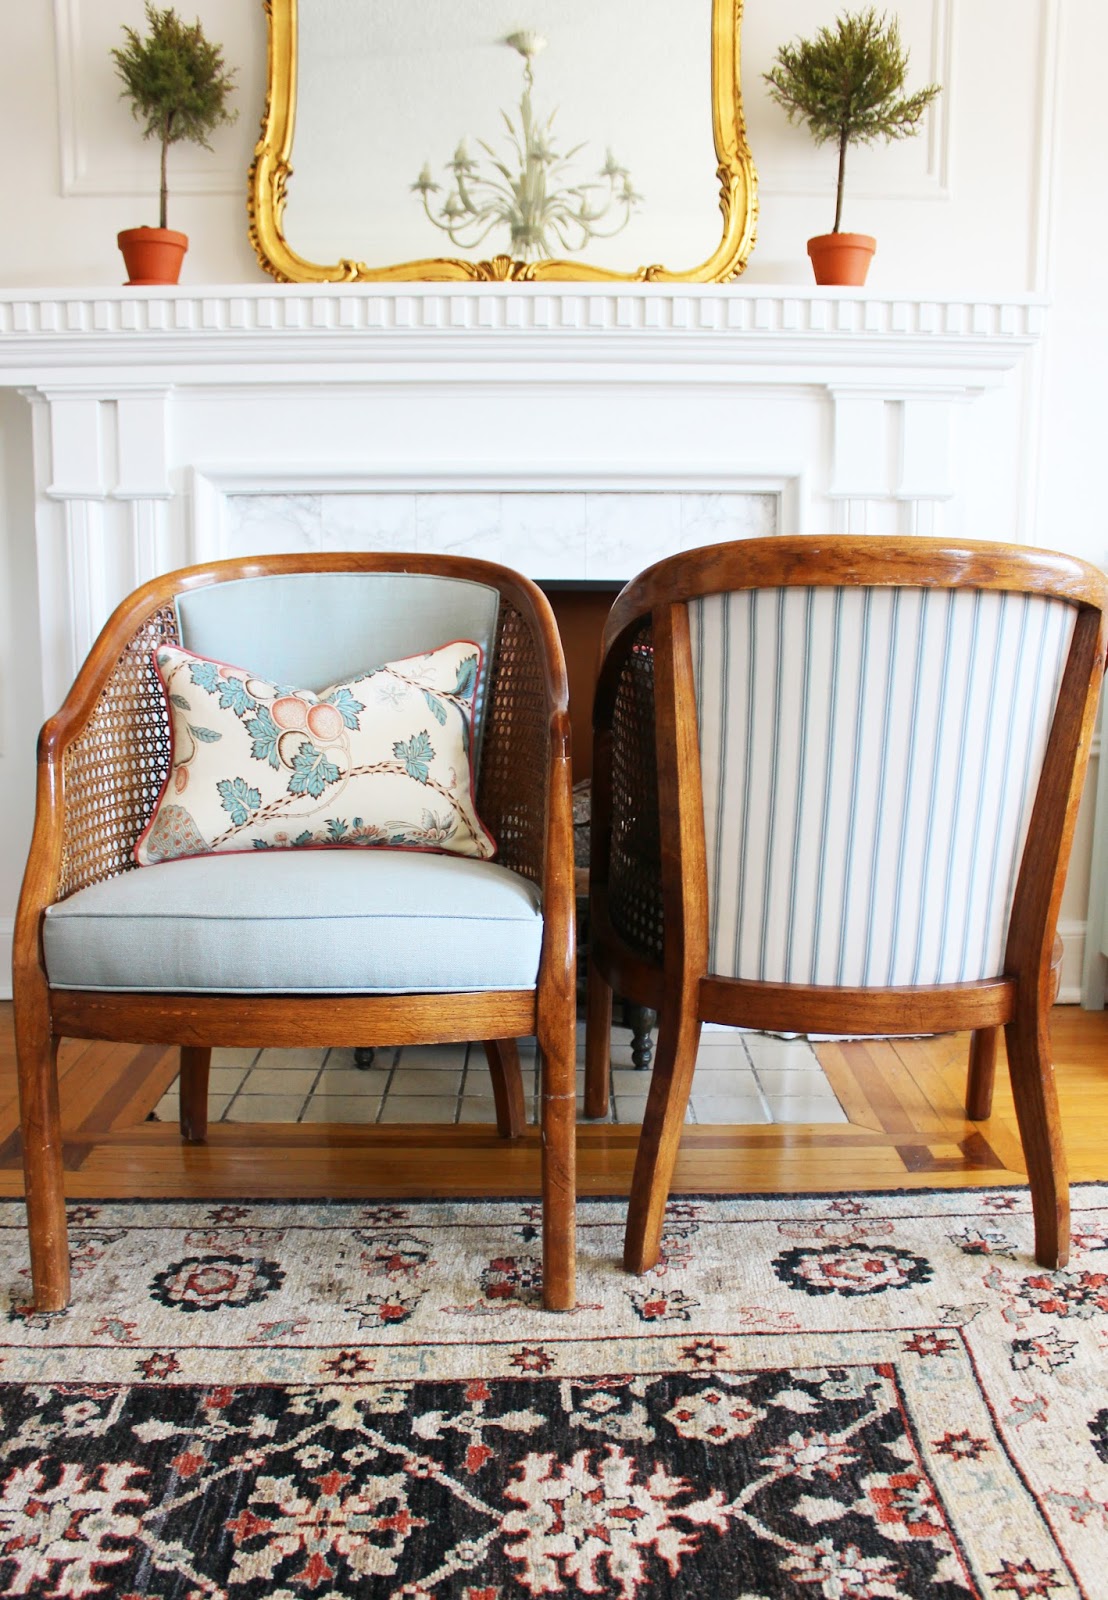
Fast forward 11 months into living at the new apartment and the chairs were still sitting here unchanged. Finally, I enlisted the help of reupholster extraordinaire Staci Edwards of Switch Studio. I left the fabric, chairs and plan in Staci's capable hands and on Saturday, I went to pick them up!! I was so nervous to see them but I am thrilled with how they turned out!
The peak-a-boo striped back is so charming.
I went with a simple 100% linen in soft blue from Designer Fabrics for the front body of the chair. While I initially thought about doing a striped pipe as well, I think it would have been too busy with the texture of the cane. The stripe on the back panel, however, is the perfect touch. It adds pattern and interest but is not trendy. It is classic and timeless.
Switch Studio also did up the sweet little lumbar pillows. The Schumacher fabric used was the first 'ah-ha' moment I had when developing the scheme for this room. It really made the corals and aquas in my existing (and beloved) rug make sense, and I used this fabric to pick out the fabric for my sofa cushions. I love the contrasting coral pipe on these pillows. It compliments my coral velvet pillows from Stuck on Hue so nicely.
I chose to keep the wooden and cane frames of the chairs in their original condition. They are a little roughed up, but I love the sense of patina and history that they contribute. I like my vintage in vintage condition.
The peak-a-boo striped back is so charming.
Truthfully, I thought about attempting a DIY reupholstery job on these chairs to save money, but I knew that I wanted to keep these chairs for many years to come and didn't want to mess them up. I wanted them to look perfect, not just 'good enough considering I did it myself'.
Switch Studio did an amazing job on the chairs and pillows and I
couldn't be more thrilled! Well worth the investment. They are located
in Oakville and service Oakville, Burlington,
Mississauga, Milton, and Greater Toronto Area. If you are looking for an
excellent, fairly priced option for reupholstery, this is your spot! A
big thank you to Staci Edwards for making my chair dreams come true!


