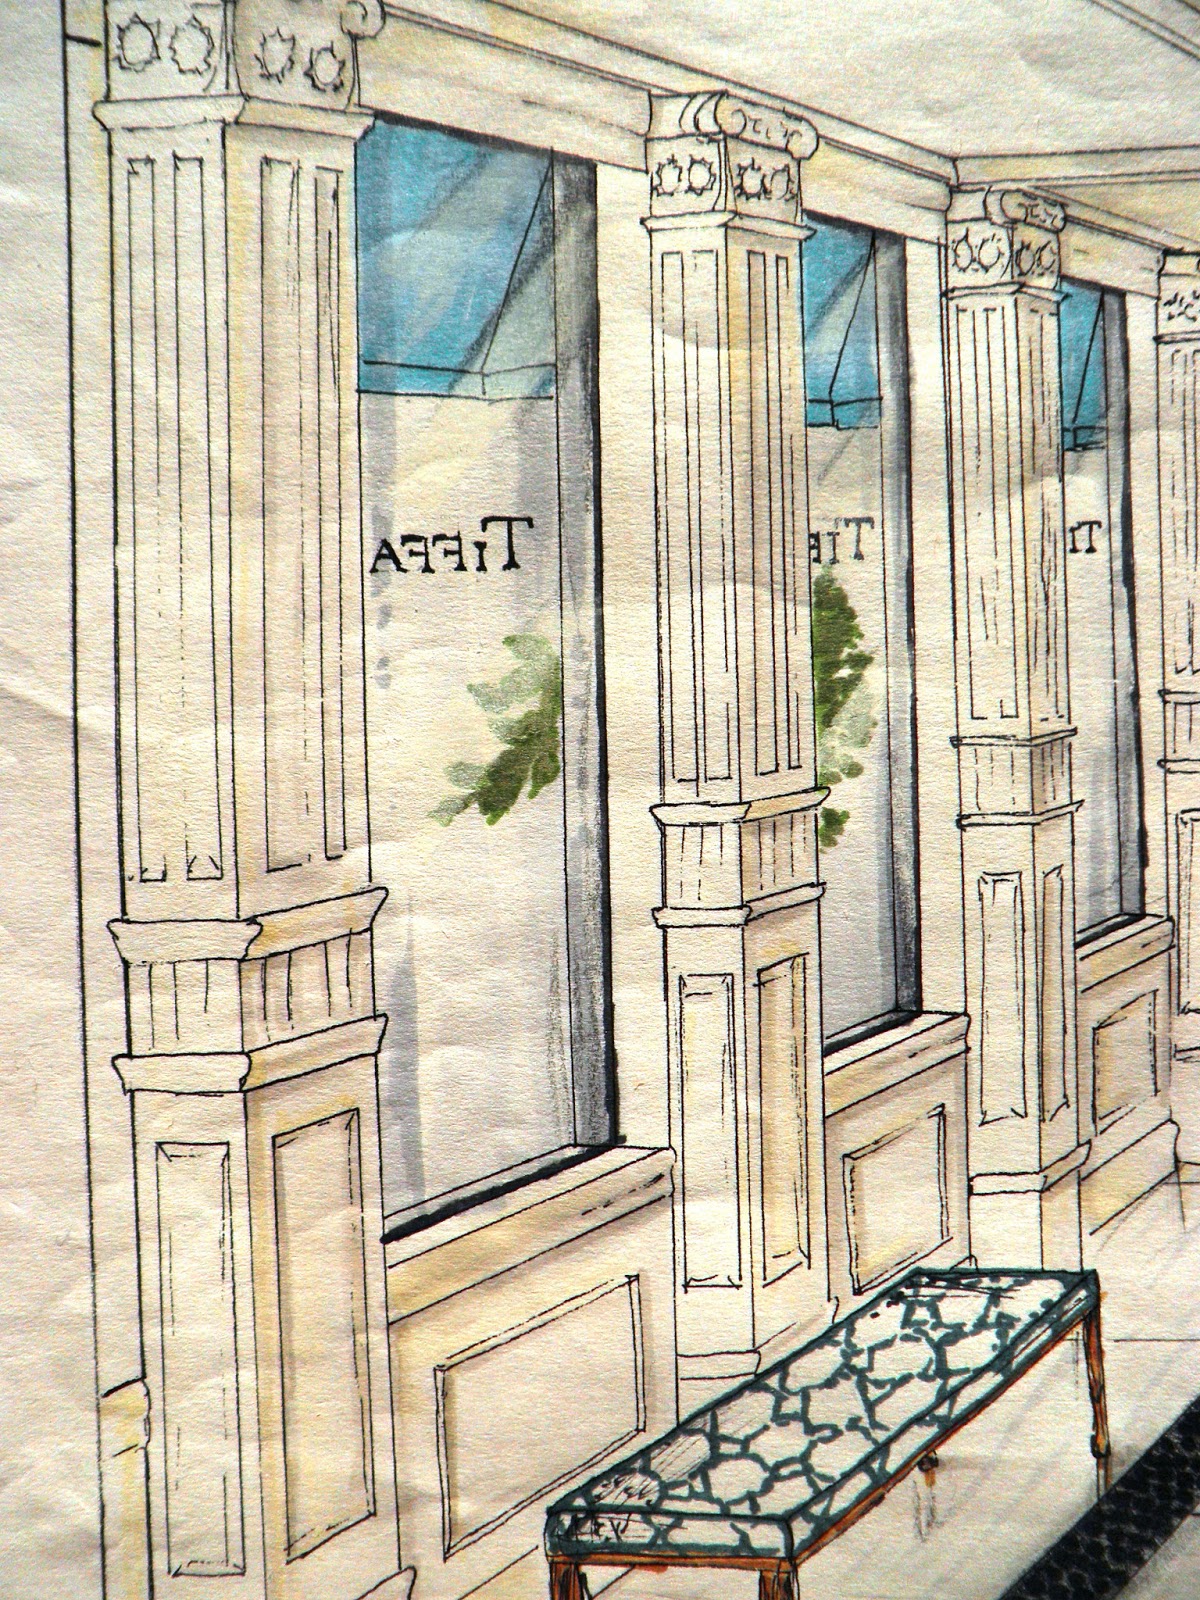
I must apologize for neglecting this blog all week. Quite simply I've been busy and uninspired.
Quality over quantity sometimes, you know? But today I'm back with an inside look at the evolution of a drawing to create this finished result:
This is the reception for Tiffany & Co. head office that I designed for my term 3 rendering class. You can see that the paper is a bit crinkled, but once I mount it to foam board for the presentation you won't see that.
Step 1: Start with a floorplan
Step 2 (to like...1000)
The next part is complicated and not something I could explain here in less than a thousand words. But basically you need to draw a station point (where you would be standing in the room), as well as a picture plane (along the back wall). You start transferring all the items to the picture plane and then down onto your new drawing using the vanishing point. I know that explanation was weak and makes no sense. You can youtube it.
(You can see all of the lines 'raining' down from the floor plan that is taped above it. you mark the height and location of the objects on the back wall and extend them forward through the vanishing point to get the correct proportion.
Step 3 (or 1001)
Once everything is drawn in, I start to trace over the lines of the objects. At this point there are MANY unnecessary lines on the paper. Rather than carefully erase each one, I just trace over the lines I want to keep in marker and then do a big, fast erase after.
Finally, I make several photocopies just in case I end up messing up on the coloring stage, and then I have at er! First start with shading using French Gray prismacolors, then add the rest.
And voila!
Missed you all!


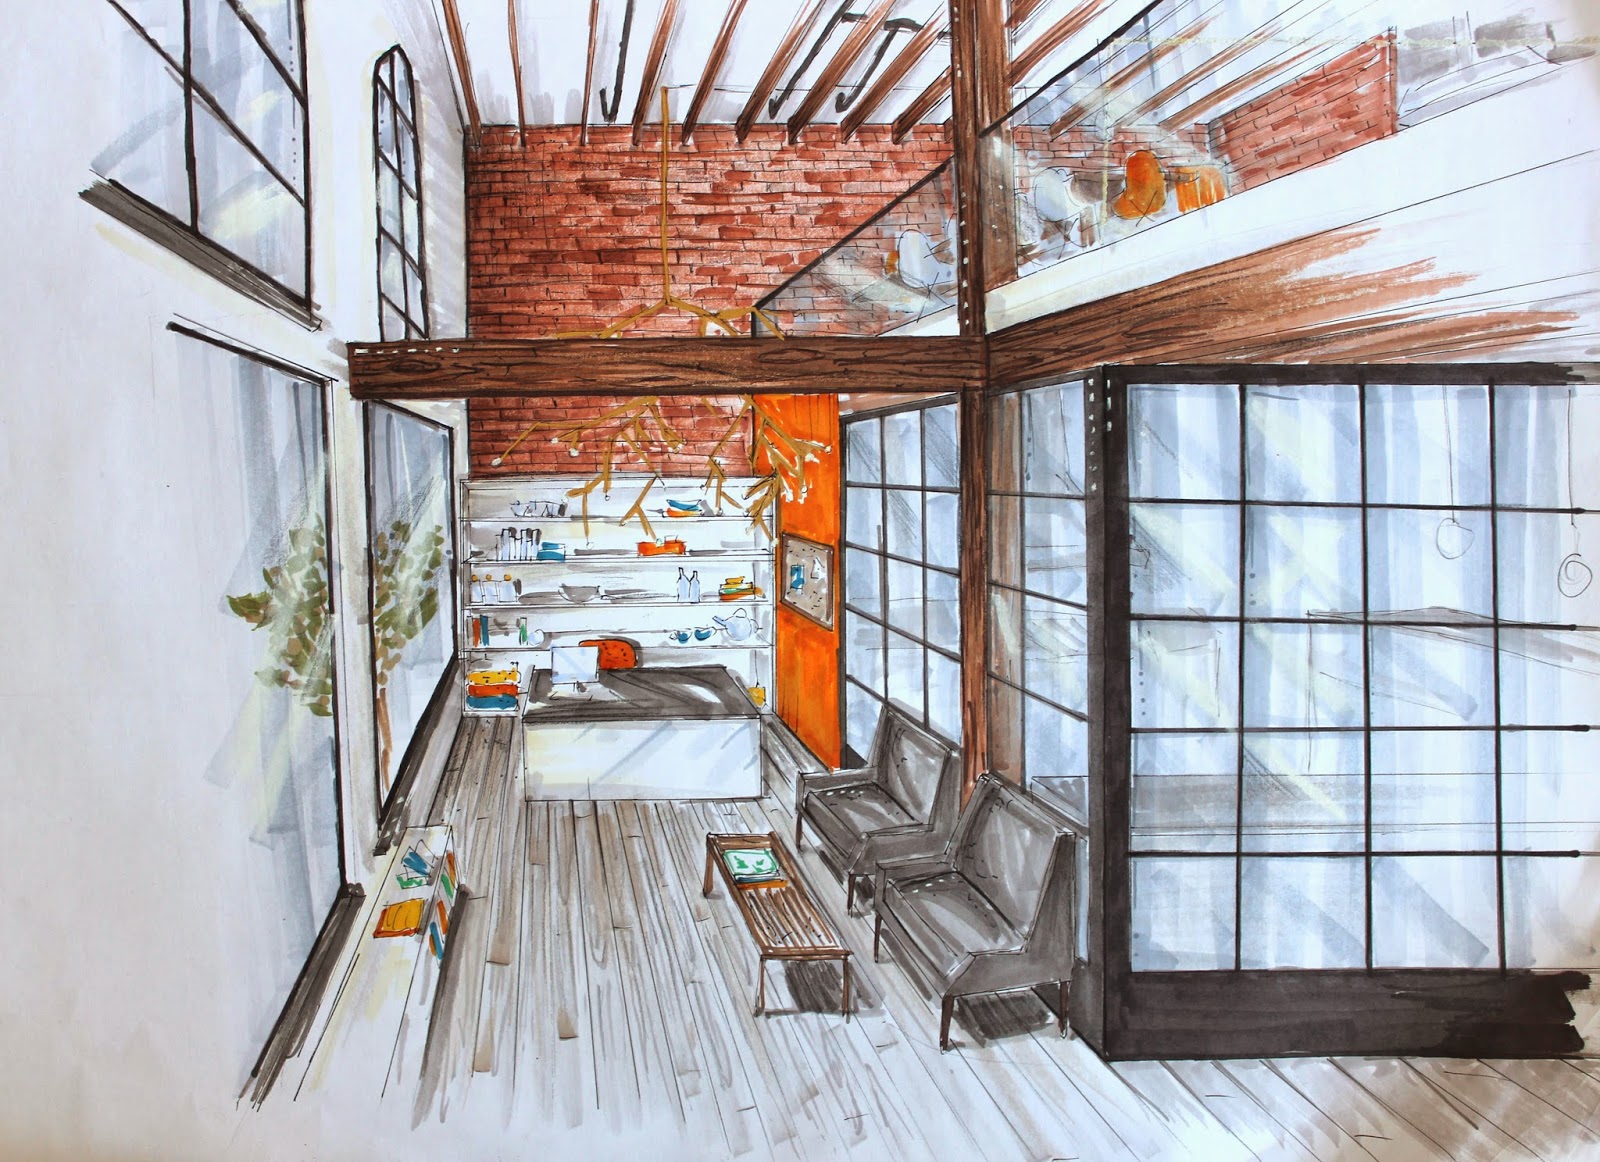 The first step is always the pencil drawing, in which you set your vanishing point, horizon line, and objects. Then I trace over this with a fine tip black architectural pen:
 After this is complete, I go in with varying shades of Prismacolor French Grey markers and add depth with shadows. I always love how this looks at the end and get nervous to add any colour!
 Finally, I go in and add colour to get to the final result.
 Next week I will be sharing the entire project! Stay Tuned!