PhotobucketPhotobucketPhotobucketPhotobucketPhotobucketPhotobucket
Showing posts with label coffee table. Show all posts

8.12.2014

Coffee Table Tuesdays with Jackie of York Avenue

Hi all! I just wanted to start off by saying thank you so much for everyone who stopped by my home tour on The Everygirl and left a little love. The response has been truly overwhelming and I am so grateful! If you missed it, you can catch up here!

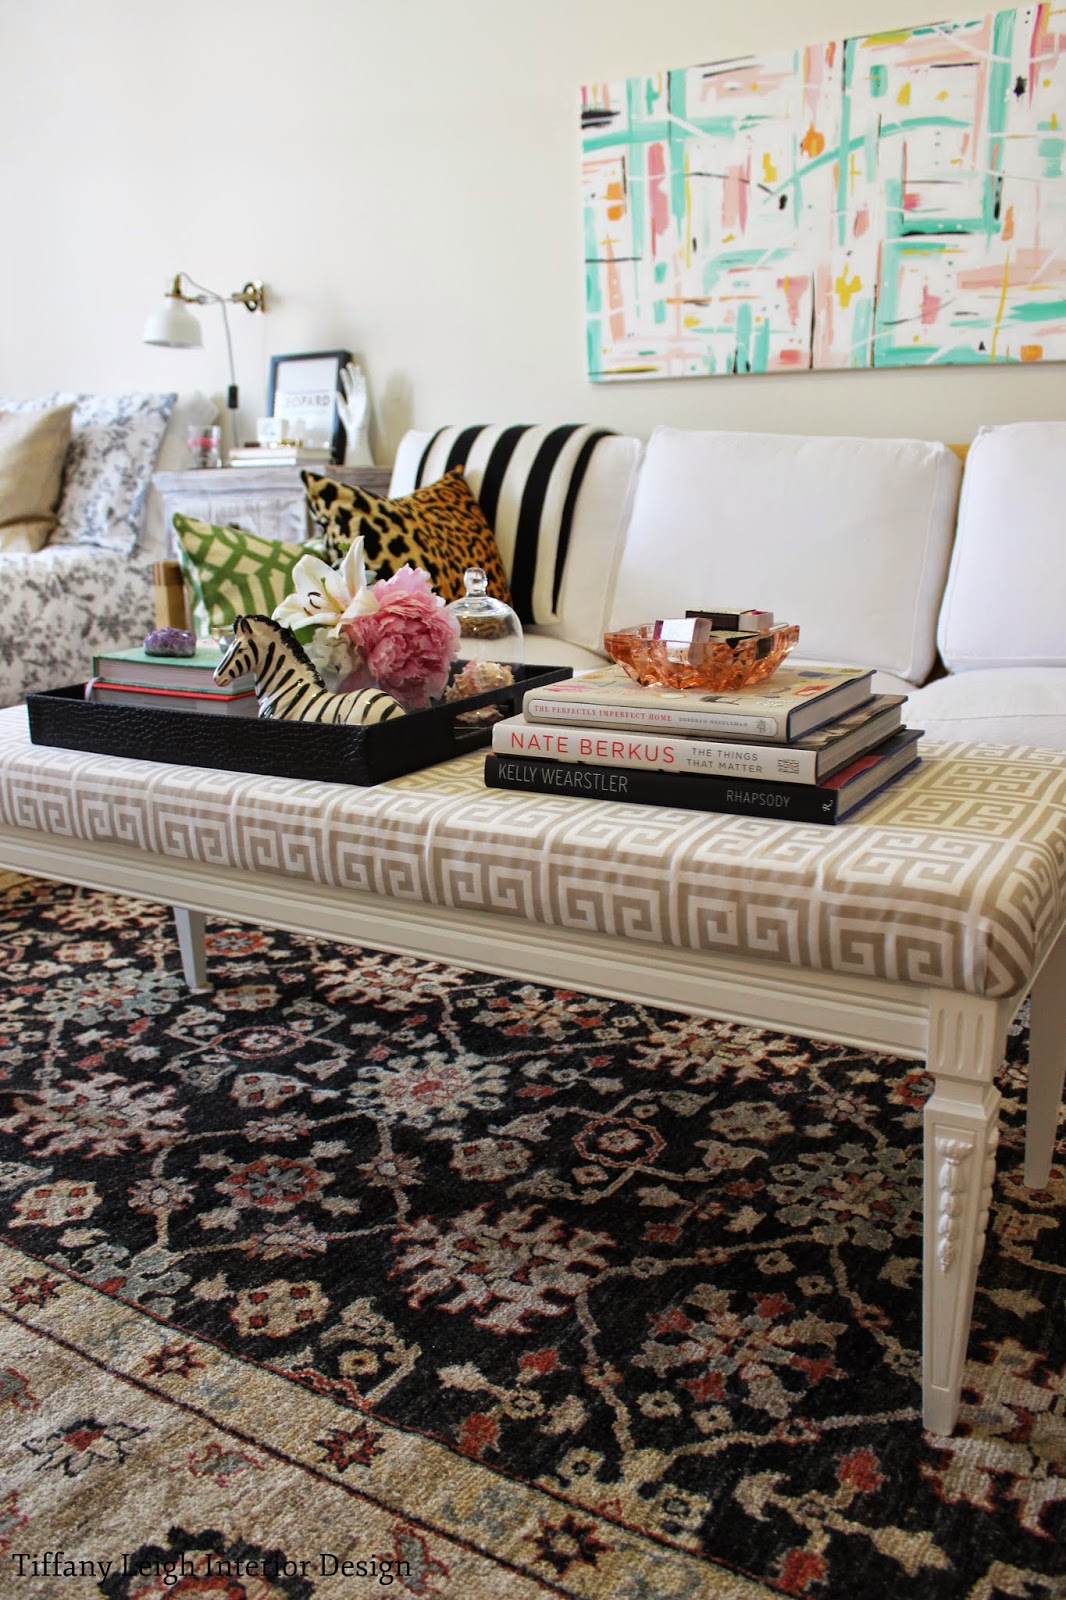
It's Tuesday again, and I'm excited to welcome another blogger whose small studio apartment was featured on The Everygirl, Jackie of York Avenue! Jackie and I have been 'blog friends' for a long time, and I think it's soon time to plan a trip down to NYC to visit this girl for real. She has a wonderful blog and, of course, killer styling skills. Let's find out her tips for styling the perfect coffee table:


1 / 2 / 3 / 4 / 5 / 6 / 7 / 8

 I too, love Jackie's distorted candle stick, don't you? Be sure to check out Jackie's blog and instagram for more design inspiration and to live the life of an Upper East Sider vicariously through her!
Thanks so much for joining us today Jackie!
xox
Photobucket

7.29.2014

Coffee Table Tuesday with The Peak of Tres Chic

Today's Coffee Table Tuesday features one of the first friends that I made in the blogging world, Sam of The Peak of Tres Chic. Like me, Sam is currently in school studying Interior Design. This lady has a big career ahead of her, as evidenced by her amazing Rose Creek project. Sam participated in my Favourite Furniture Fridays series way back when, and I am so thrilled to welcome her back for this new series. So grab a cup of coffee and enjoy Sam's styling tips!


1 / 2 / 3 / 4 / 5 / 6


I also love her tufted sofa, so amazing! Be sure to check out Sam's blog and instagram for more daily inspiration! Thanks so much for sharing Sam.
xo
Photobucket

7.15.2014

Coffee Table Tuesday with Elliven Studio

Hi loves! Welcome to Round 2 of Coffee Table Tuesday, a new weekly series here on TLID that shares the ways that some of my blogging friends style their coffee tables. This week, you're in for a real treat because we have the lovely and talented Julie from Elliven Studio joining us. I met Julie last year at Blogpodium, and have loved following along her journey to decorate her house ever since. Her space is painted in the most perfect shade of grey, and her entire instagram feed is a daily dose of pretty.

Please join me in drooling while we snoop her coffee table style!


 1 / 2 / 3 / 4 / 5

 Don't you just love everything going on in these pictures? I mean, that gold garden stool alone! I can't! Be sure to head on over to Elliven Studio and say hi! And Julie, thank you so much for sharing.

xox
 Photobucket

7.08.2014

New Weekly Blog Series: Coffee Table Tuesdays

Hi loves! One of my favourite things about blogging is connecting with some pretty fabulous people. I used to run a weekly blogging series called 'Favourite Furniture Fridays' where I invited these cool peeps to join me and share their favourite piece of furniture that they own. It was so much fun! You can look back on all of those posts here if you missed them.

It's been awhile since FFF, and I'm missing the it, so I've decided to start a new series here on TLID called 'Coffee Table Tuesdays'. My coffee table is probably my favourite thing to style, and it is constantly being rearranged. I will start the ball rolling this week, but next week, I have our very first guest poster lined up and you won't want to miss her!


 1 / 2 / 3 / 4 / 5 / 6 / 7 / 8 / 9 / 10 / 11 / 12

If you would like the full tutorial on how I made over my coffee table, you can check it out here.
I hope you are all as excited about this series as I am!
xox
Photobucket

5.06.2014

New Leopard Pillow

Many of you probably already know that I've been eyeing this pillow forever. Every once in a while for the past year and a half, it will come up in one of my posts. The other day, in light of some exciting news (secret for now!) I decided it was time to treat myself! I ended up getting it from this etsy seller, whose price was the best that I could find! I am so happy with it, I think it gives my room the final pattern that it was missing. 

After I posted this photo on instagram, I knew the room needed it, the combination really spoke to me:

Here are some more shots of my living space now!:
Have you treated yourself to anything lately? You deserve it!
xox
Photobucket

10.17.2013

Halloween Throwback DIY: Gold Skull

I was at Michael's the other day grabbing some watercolour supplies and was happy to spot that this year they restocked the little cardboard skull that I used for my gold skull DIY last year.
This skully used to be a permanent figure on my coffee table, adding the perfect amount of edge to an otherwise pretty space. The zebra has since taken over, but I brought this guy back out for some Halloween fun!
 Pretty glamorous for a dead guy, right? Check out the full throwback DIY HERE. I promise it is quick, easy and inexpensive.
Do you guys go all out or minimal with your Halloween decor?
Photobucket

9.18.2012

My DIY Greek Key Bench

  Two DIYs in one week? Moving really has me on the ball people.
Today I bring to you the story of a bench.
^ Here is what it looks like now. I use it as a coffee table/ottoman in front of my couch, but it could easily go at the foot of a bed or in a front foyer! I love how versatile a good bench is.

Let's travel back in time to July, 2011 to see what the piece used to be:
Picked this baby up at Good Will for $4. It was chipped, bubbling and a strange height for a coffee table. But I saw the potential of those great legs (and yes, it took me over a year to finish even start this one).

The First step was to remove the top of the table:
^ It was attached with these L-brackets that easily unscrewed.

Next, I used the top as a template to cut out the 2inch upholstery foam that would sit on top to form the cushion of the bench.
I cut out the foam with a serrated knife and used spray adhesive to attach it to the table top. I did the same for a layer of cotton batting.
^Since my bench is four feet long, I ordered 2 yards of fabric and cut it down to size.
The fabric I chose was 'Greek Key, Buff' from Tonic Living.

Then, with the help of my parents, I staple gunned the fabric to the underside of the table and reattached the top. Oh and I also painted the base of the bench white!


I'm so pleased with the end result. The entire project cost me around $40. I had the paint leftover from an old project so that kept costs low, but it required very little paint!
Then, on a trip to Home Sense, I was even more pleased when I spotted this:

The EXACT same fabric on a similar looking bench for 200 dollars!

Pretty amazing if you ask me!
xo
Photobucket