PhotobucketPhotobucketPhotobucketPhotobucketPhotobucketPhotobucket

7.09.2012

DIY: My 'Brilliant' Glitter Art

Warning: This DIY will leave you feeling looking sparkly for days
Cost: About $10 (excluding frame)
Difficulty: 3/5

Recently, while watching Home with Novogratz, I discovered the amazingly talented glitter artist Camomile Hixon who combines glitter with a sense of humour and purpose to create some amazing artworks. I especially like her word art, so I decided to recreate the look with some glitter, some glue, and a homemade stencil!
The materials:
1. A picture frame
2. Painter's tape
3. 24 kt Gold Extra Fine Glitter (or any colour you want!)
4. Permanent Marker
5. Fine cutting knife
6. Spray glue (The jar of glue you see pictured didn't work)
7. Cutting Surface
8. Cardstock Paper (I used printer paper, but it got so wrinkled..go with a heavier stock)
9. Overhead paper (You know..that clear plastic paper)
10. Newspaper
11. A heavy book
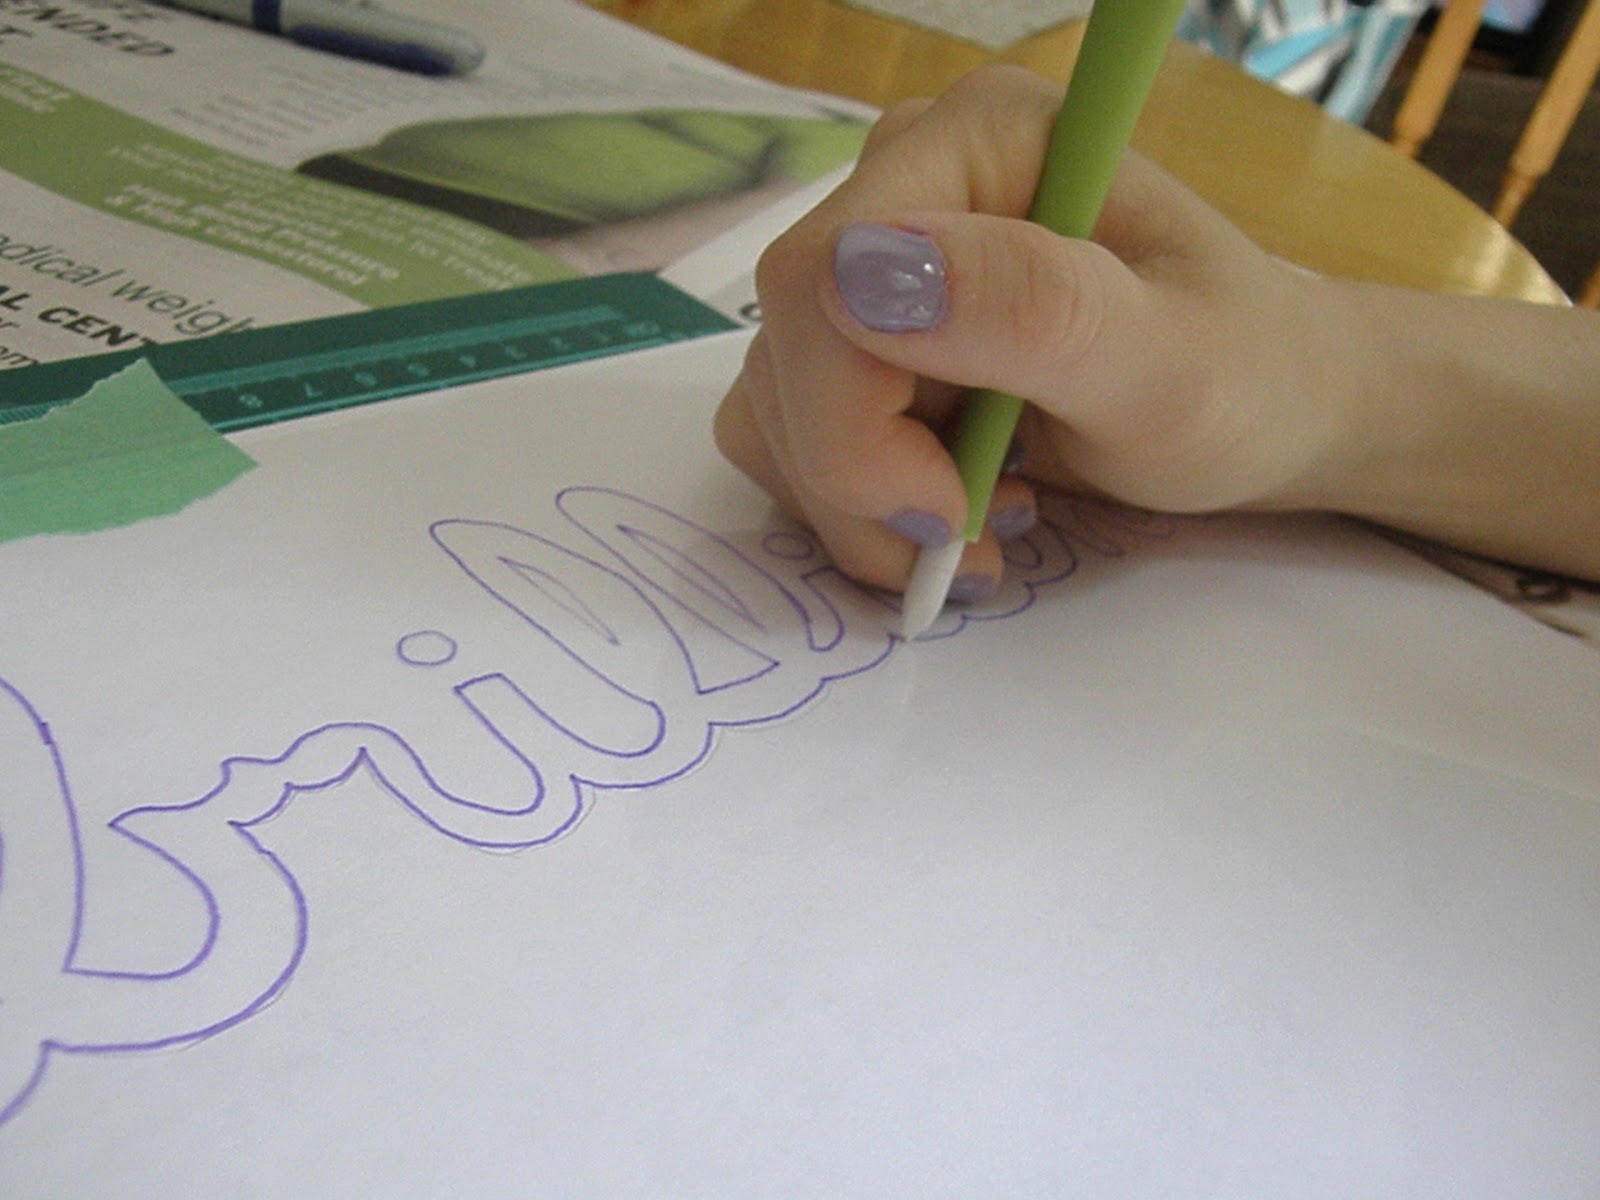
Write your word of choice onto the clear paper using permanent marker. You can free hand it like I did, or you can print off the word and trace it.
 Carefully cut out your stencil using a fine cutting tool. Take your time with this process.
Attach the stencil to your cardstock with painters tape. Also use painters tape in the center of letters where you do not want glitter (like I did here in the B, Ls and A).
This step was an epic fail.  Save yourself the hassel and use spray glue over your entire stencil (also make sure everywhere you don't want glue is covered in painters tape. I didn't and the newspaper stuck...See in the next photo where the upper right hand corner is bare)
Cover the whole thing in glitter!!!
Cover with newspaper and a heavy book, to ensure that lots of glitter sticks. Leave for about 20 minutes, remove the book and newspaper. Shake off all the excess glitter (I was able to pour most of it back into the jar).  Lastly, spray the piece again with the spray glue to seal in the glitter. Let it dry for about 20 more minutes. Carefully peel off the painters tape and stencil.
Frame your masterpiece!
I love how sparkly and glittery it turned out, it even has a bit of a 3D pop. The edges aren't perfectly crisp, but the scattering of glitter is so pretty. The word 'brilliant' sitting on my desk will inspire me to believe in my ideas every day!
Now that I've taken you through the whole messy process...I will let you in on my secret for the NEXT time I create some glitter art....glitter paper. I think it'll make the whole process a lot less messy.
What do you think?!
xo
Photobucket 
Ps. I'm picking the winner of my giveaway TONIGHT as promised. Last chance to enter!

7.08.2012

Girl's Night and A Reminder!

Last night I hit up a swanky downtown restaurant in an old converted factory with my girls.
It inspired me to get a little dolled up and to share the look with all of you!

Spikey Necklace Glam


There was no one home to take my photo so I had to settle for a selfie!
Pair a sheer white blouse with semi high waisted black shorts. A spikey necklace like this one from H&M and a more feminine classic clutch (you may recognize mine from my bathroom reveal) creates the perfect balance between girly and edgey. Polish off the look with a sexy pair of black pumps.

If you like the look of my clutch from H&M, then you will LOVE the earrings I am giving away TOMORROW! That's right girls, you only have until tomorrow evening to enter!
Good luck!
What would you wear out for dinner with the besties? xo
Photobucket

7.06.2012

Favourite Furniture Fridays: Hodge Podge by Markova Design

 Today's guest blogger is the talented (and Canadian) Barbara from
Hodge Podge by Markova Design
!
It's exciting to be visiting Tiffany's blog today sharing one of my favourite pieces of furniture in my home. 
Last year after we switched the kids' bedrooms around, our middle child, J, who is now a 16 year old blonde eyed beauty, moved into a bright and sunny room. It is one of my favourite rooms in the house, as I have stepped out of my comfort zone and embraced colours I normally don't use in my house. We have been using her room as a design lab and are thrilled with the results.
The first pop of colour was on this amazing night table, that had seen better days, I found on Craigslist for only $25! 
It had a sad 70's laquer top that was quite scuffed. After a good sanding, some primer and a fresh coat of  Spectra Blue, 2049-50,  by Benjamin Moore, it looks amazing against the dark brown and cream stripes of J's walls.
I decided the leave the original hardware as-is, as I loved the patina and style.
So if you are ever feeling daring and adventurous with colour, try it on small pieces for great visual impact! Thanks again for having me visit Tiffany. Hope everyone has a wonderful weekend!
XO Barbara
Thank you so much for sharing Barbara, such an amazing transformation! Your daughter is a lucky girl to have such a gorgeous bedroom (and talented mama). Be sure to check out her blog!
 

Photobucket

7.05.2012

THIS.DESK.

I am currently drooling over this desk from IKEA. It has my mind rolling with so many ideas.

The description says "A long table top makes it easy to create a workspace for two", but I thought, what about a space for ONE to do both work and beauty? It would cut down the need for two pieces of furniture in a smaller, studio style space. The high gloss white and slim leg design would make it visually light and airy.
Let me show you what I mean with a quick sketch (maybe this makes up for the lack of doodle yesterday):
A venetian mirror over one side, with a jar of makeup brushes and a tray of lipsticks.
A fabric covered inspiration board over the other side, with laptop and office supplies!
You could even mix up the seating for extra fun.
I've always wanted an extra long desk
like this:
via
 Or this:
via
 Or this:
via
Is there room for this in my student rental come October? Well, No...
Is that going to stop me? Let's just say I love a good design challenge so we will see!
xo
Photobucket 
ps. Only a few more days to enter to win my earrings giveaway! Get in on it while you still can ;)

7.04.2012

Watercolor Wednesdays?

No doodle today but...
I took a trip to the craft store to pick up some supplies! It's been awhile since I've worked with watercolors, but I'm excited to get experimenting with these! Maybe next week will be a Watercolor Wednesday instead of the usual Wednesday Doodle!
Also...
Picked up this GLITTER for an upcoming DIY project...I really hope it turns out and I can't wait to share it with all of you!
Have a lovely week :) xo
Photobucket 
ps. Enter my giveaway!!!

7.03.2012

Flea Market Find: Brass Bar Cart (and giveaway reminder!)

This weekend, my big brother and I hit up the Aberfoyle flea market. I guess this means that I can check off number 3 on my Summer to Do List! It was huge, a little overwhelming even, but I found something that has been on my lust list for a long time: a brass bar cart:
 To be honest, I don't really have anywhere to put this, but I bargained it down to $30 and just couldn't pass it up. I was in love. Now I'm looking to some of my favourite bar cart images for inspiration on how to style it perfectly.
Monika Hibbs via The Glitter Guide
Naomi Stein via Design Manifest
Deborah Needleman via Lonny

 Catherine Sheppard via The Glitter Guide
Kyle DeWoody via Vogue
via Society Social  Manifesto Magalog 1
 What do you think? I am in love.
Also, don't forget to enter my giveaway for your chance to win TWO pairs of fab earrings :)
Photobucket 
ps. I did the magnet test and my bar cart appears to be brass plated rather than solid brass. The finish is a bit tarnished..Does anyone have suggestions for a good gold spray paint?

7.02.2012

100th Follower Giveaway: 2 Pairs of Earrings! - CLOSED

 
 I recently reached 100 followers! It still amazes me that even one person reads my little ramblings here on the blog, so 100+ is a huge honour. I've made so many amazing connections with creative, talented and passionate people and I wanted to do something to say 'Thank You'. When I saw these blush coloured tassel earrings (which perfectly capture the vibe of my blog) and these pretty colour blocked gold and neon earrings at H&M, I purchased them especially for you.
The winner of the giveaway will receive BOTH pairs of earrings. The earrings are brand new, have never been worn and were purchased with my own money specifically for this giveaway.

To Enter:
-Must be Following Tiffany Leigh Interior Design
-Leave a lovely comment!

For an Extra entry:
-Tweet about this giveaway including a link to Tiffany Leigh Interior Design
- Leave a separate comment below linking me to your tweet!

This contest is open to residents in Canada and the United States. The contest will be open for one full week, and the winner will be announced Monday, July 9th, 2012. 
Good Luck Everyone, and thank you from the bottom of my heart!
xo

Photobucket

7.01.2012

Happy Canada Day!

I love me some Canadian goodness. Born and raised baby, bring on the celebrations!
Some fun Canadian facts:
1. I'm sure you all have noticed that I add an extra 'u' into words like color/colour and favorite/favourite. That's the Canadian in me!
2. I've never seen a real life igloo...shocking I know.
3. Beaver tails are a delicious Canadian treat. Now before you get grossed out, let me describe it...fried dough in the shape of a beaver tail and rolled in sugar.  Amazing.
4. We don't say 'aboot', but we do say 'eh'...like alot.
5. Same sex marriage is legal in every province in Canada. Yay for equality and acceptance of others!
Okay, now onto some fun Red and White inspiration! (Just throw in some blue and you've got 4th of July covered too!)

1 / 2 / 3 / 4 / 5 / 6
What are you doing to celebrate Canada Day/ the 4th of July? 
Photobucket